- 18日6月2021年
Lamentation SwAccelerated Mobile Pages 53-year-old Demon’s Souls Remake Diary # 19 | Where and how to get the moonlit sword!
Lamentation SwAccelerated Mobi……

There is a majestic person with a one-shot kill in Boletaria. The name of the person is [Old King Doran] Ostrava (NPC) who asks for help in the lower layer of Boletaria to meet him, it seems that it is the shortest to use the key of the mausoleum that drops when he is defeated.
This time, I will show you how to defeat Doran, who has been protected against shield attacks, although it will take some time.
Strictly speaking, Doran is a strong man who subdues in two stages.
The basic turn around is the same for one-step subjugation and complete subjugation. The first thing to prepare is to say that it is the only time-consuming method!
What you get from the old king Doran
| First stage | ・Demon brand (weapon) |
| Complete subjugation | ・Old King’s Mask (Head) |
| ・Old King’s Breastplate (Body) | |
| ・The back of the old king (hand) | |
| ・Old king’s instep (leg) | |
| ・Ring of those who keep fighting (ring) |
If you do a certain amount of damage, you will be recognized and awarded the Demon Brand. Apart from this, by completely subduing, the old king’s equipment set and ring will be dropped.
Now let’s get ready to get the Demon brand. Doran’s attack cannot be guarded, and if you take a blow, you will die instantly.
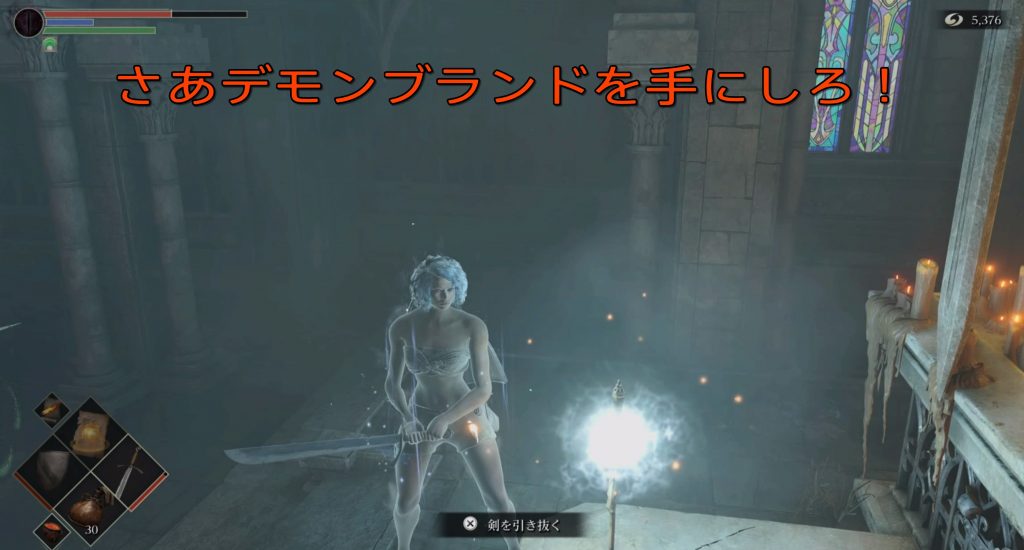
In that case, no equipment is required. Let’s challenge with underwear that can be easily avoided 😁 As a weapon to use, we recommend the Falchion of the missing moon that can be picked up at the stormy place of worship [the edge of the isolated island].
Please refer to the place to get it as it is introduced in the trip to the edge of a solitary island!
[Reason for recommending Falchion for missing months]
Especially when you are completely subdued, if you attack several times, you can earn damage due to the bleeding effect! (You can see it by watching the attached video)

Doran seems to have a range of action, and has a habit of trying to return to its original position when approaching the limit point. It is a method to attack safely using this habit. (* ^^)
The first stage of action limit point is that there is a device that seems to be a catapult in the image below. It would be safe to guide you to this point, wait for it to back up, and then attack.
Doran may try to return on the way up to this point. In that case, attack carefully and do your best to attract!

Doran does not fight back when he is backing to return. If you hit the attack several times or reach a certain point, you will come back again.
As a point to note, if you hit a few shots without greed, avoid backwards. Repeat until you come to this. It’s a simple task, but it takes time to take safety measures in this game. 😅

The signs that Doran is coming are either avoidance, counterattack, or advancement. This counterattack is dangerous, so if you attack 2-3 times, you need to avoid backwards.

In the first stage, if you do about 1/5 damage, Doran will recognize the player. Let’s go get the demon brand while walking with Doran!

The Demon Brand is a weapon that demonstrates its strength as it becomes [Soul Tendency White], and becomes a powerful weapon against demons. The ability values required for equipment are 18 strength, 14 skill, and 12 faith.
A black soul person like me will turn into a decorative weapon with 0 attack power even if equipped. 😅
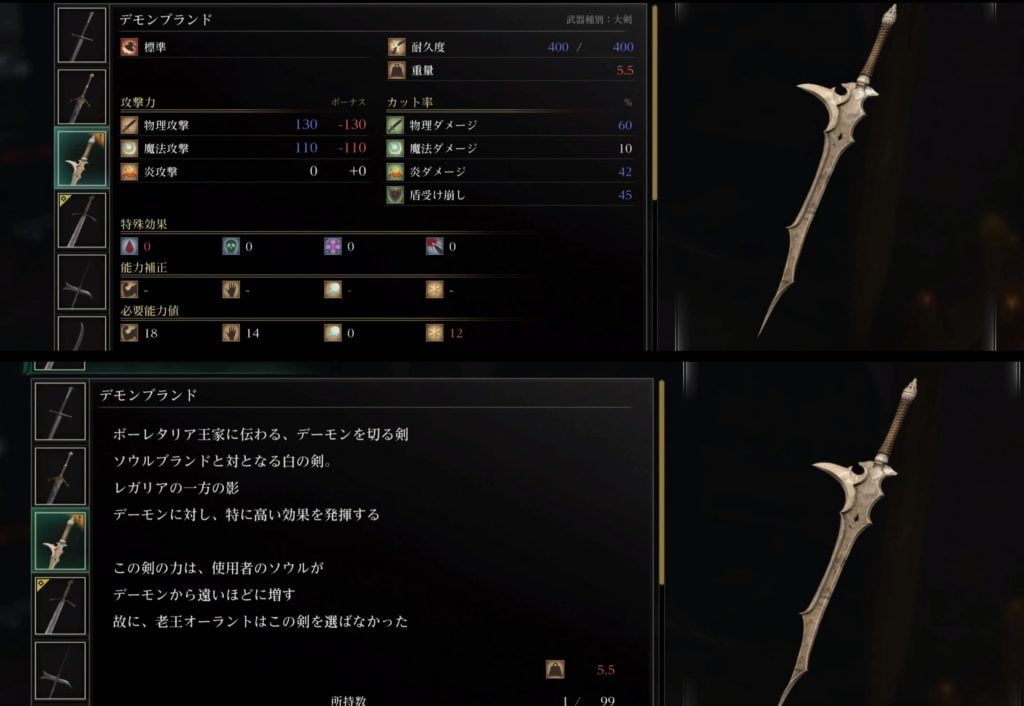
At first glance, it’s worth a thousand words, and I think it’s quick to watch the video, so please refer to it!
Even if you attack immediately after the first stage of subjugation is completed and you get the demon brand, you will not fight back until Doran’s life is nearly half. The fastest way to completely subdue is to guide you to the limit of action here.
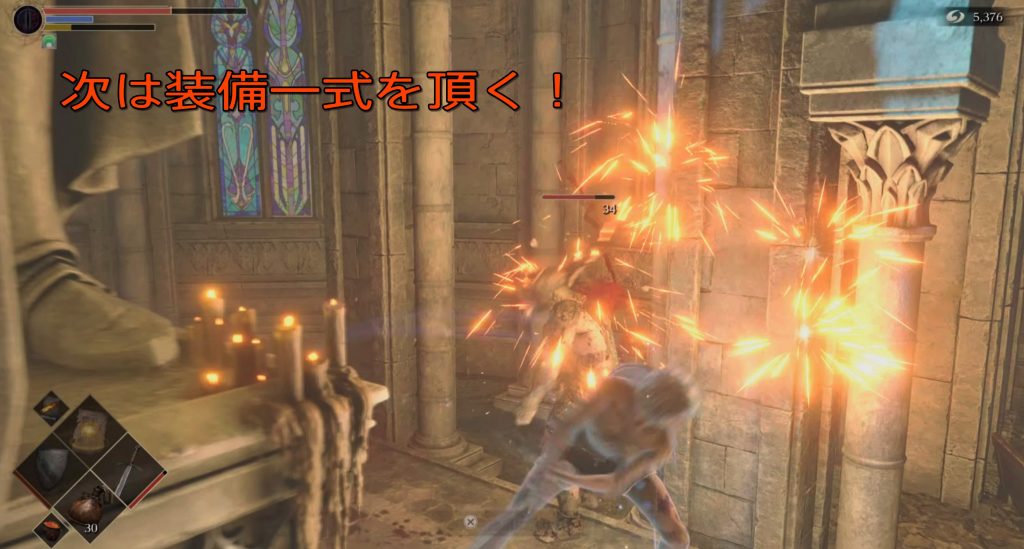

I messed up 😢 In my case, I was killed by a single blow with a little carelessness and died. If this happens, you will have to take time to defeat Doran, who is full of life.

If you lose the battle with Doran, you will be returned to the Boletaria castle gate (~ _ ~;) Since it was a big deal, I will show you how to get to the place where Doran waits.
Since it is a great deal, I will guide you to the place of Doran. 😅

Proceed to the front of the castle gate and go up the stairs on the left. The front entrance is closed at first, so if you follow the road from the left side, you will reach the top of the fence.

It is recommended that you secure a route first in consideration of the time when you failed in the Doran battle. When you get out on the fence, go straight and you should see the entrance in front of you.
In front of it is a mob in armor that makes a hard and heavy attack. Because the attack is heavy, the rigidity after the attack is conspicuous, so while guarding, wrap around to the right and back stub! If you can do this, you should be able to beat it without any problems.
After successfully defeating it, if you go inside from the entrance, there is a staircase that goes down. There are several mobs (7?) On the stairs that wield flames, so let’s fight with a weapon with a fast attack speed.
There is a lever when you go to the bottom layer, so pulling this will open the front door on the stairs on the left side of the castle gate.
Now, let’s go to Doran’s place using the entrance that has just opened.

The front of the stairs on the left side of the castle gate is an open entrance.
At the end of the entrance, there are 5 mobs that wield flames, so let’s proceed while fighting with a fast-moving weapon! When you go up to the top floor and go outside, you will come out on a fence lined with devices like catapults. Go straight from the armor mob you defeated earlier, and the mobs are arranged in the order of sword holding, bow gun holding, spear holding, and bow gun holding.
When you reach the end, there is an entrance, and at the end of the exit on the immediate left, a strong enemy who is good at spear rushing awaits. This enemy backstabs behind him counterclockwise while defending against a stab attack with a guard. Defeat it by repeating this.
Note that this is a multi-stage thrust attack. In the early stages when the stamina gauge is low, it is often scraped when guarded. It may be better to deal with it by avoiding sideways.
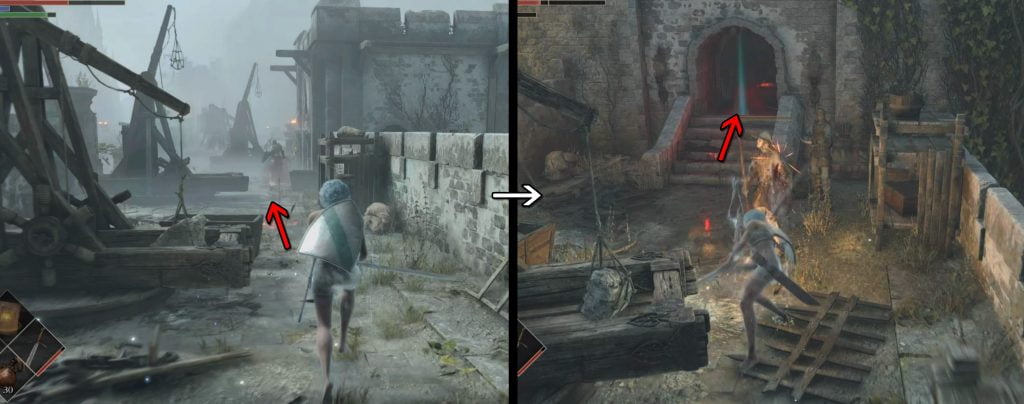
If you can defeat it safely, open the big door on the right side and you will find Doran.

Doran’s range of action will change, unlike when he obtained the Demon brand.
| Life gauge | Action limit range |
| Full tank ~ 1/5 reduction (first half) | 1st stone throwing device (left side of image) |
| 1/5 decrease to 0 (second half) | Second stone throwing device (right side of image) |
In this way, the limit was the same place as when you got the demon brand in the first half, but when the life gauge decreases by about 1/5, it will move to the line of the second stone throwing device.
As I said earlier, there is no problem if you reach the complete subjugation after getting the demon brand, but once you die, you need to defeat it while being aware of Doran’s life gauge.
When I noticed this, the word YOU DIED appeared on the monitor screen … 😢

I think it’s easy to see the video here as well.
Let’s have a fun game life for both young and old 😊


Born in 1967, just an ordinary person who likes games. A blog I started as a hobby after retirement. We mainly take up Playstation and PC games, and post real-life experiences and petite strategies. From 2023, we are working to focus a little more on YouTube. Please drop in with the intention of killing time.
Lamentation SwAccelerated Mobi……
Ghost of Tsushima Suddenly, wh……
Elden Ring | Magic Academy Le ……
Elden Ring | The ant’s h……
Note: If you don’t see t……
Soul earning As you might gues……

![Ghost of Tsushima [Tadayori’s armor] | Armor you should get if you aim for archer!](https://senryokugaigame.com/wp-content/uploads/2020/07/playstationc2ae4__22-5-scaled.jpg)


