![Ghost of Tsushima Legends [Kurodo Kitan] Start | Free multi-content that can be played solo](https://senryokugaigame.com/wp-content/uploads/2020/10/4d4ec5747a41df39a70b3084d9fbf1f0-4.jpg)
- 20日10月2020年
Ghost of Tsushima Legends [Kurodo Kitan] Start | Free multi-content that can be played solo
Ghost of Tsushima New free con……

Skyrim SE | Get Hebnolark |
When I was browsing the internet, I suddenly noticed a mask called “Hebnolark“.
It’s an artifact that nullifies illness and poison, and I’ve been sick of “Sanguinea hematophage” recently, so I wanted it. This time, I’m going to get “Hebno Lark”.

Let’s keep up the good work this time too!
First of all, I would like to introduce the place, but it is a graveyard called “Valsum” in the western part of Skyrim. This place is not displayed on the map from the beginning, and the player must search and discover it with his own feet.
In order to obtain the desired artifact “Hebnolark”, you will need to complete the quests that occur when you enter Valsum and talk to the ghosts. There are no conditions such as reval or procedure for the quest to occur, so if you want it, you can go get it.
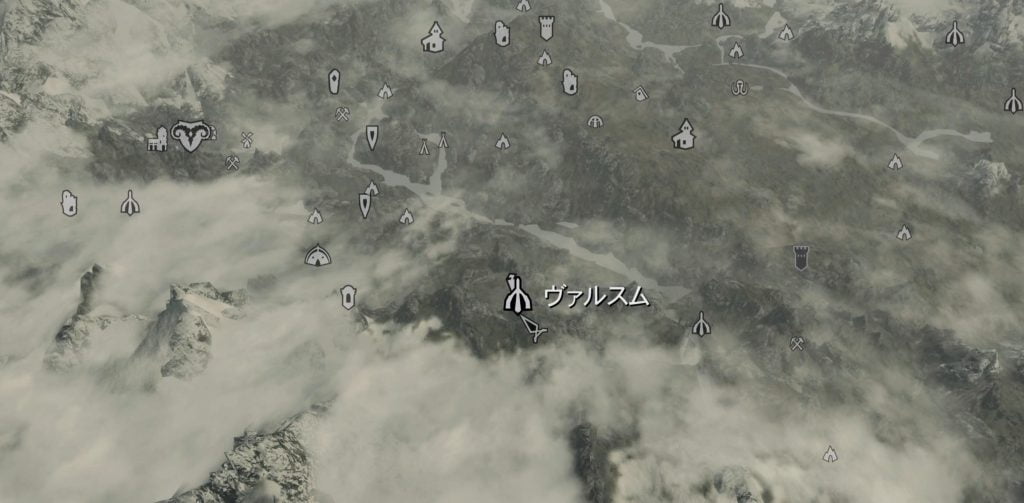
I thought it would be easier to understand with a video than to explain with an image, so I decided to watch the video this time. There is an “invisible treasure chest” along the way, and we also introduce the location, so we would appreciate it if you could refer to it. 😊

As an aside, there are three “invisible treasure chests” in Skyrim.
For invisible treasure chests, please open another tag from here and refer to it! Then, please watch the video.
Then I will guide you to Valsum.
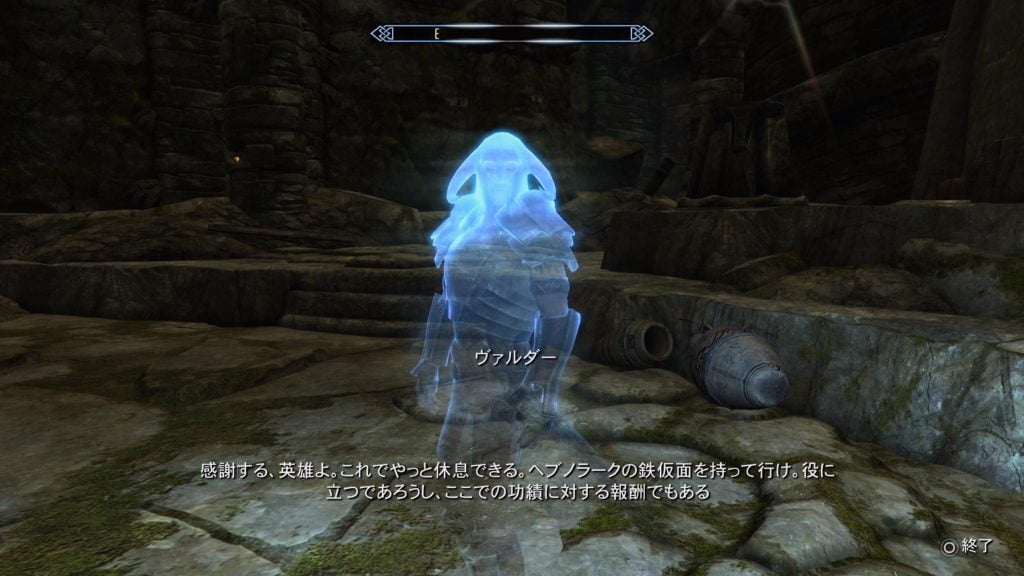
As soon as you go inside, you are suddenly told to leave the ghost. Talk to this ghost “Valder” and generate the quest “Waiting villain” to proceed.

See the conversation with Walder.
The quest journal doesn’t make sense to “receive the ship”, but in short, the first task is to collect the three “transparent bottles” placed in the dungeon and bring them back to Walder.

The dungeon of Valsum will be built in the order of the entrance of Valsum → Valsum → the catacombs of Valsum.
The wide and intricate dungeon of Valsum is a bit dangerous to invade alone. It is recommended that you learn the summoning technique as well as the accompanying servant.
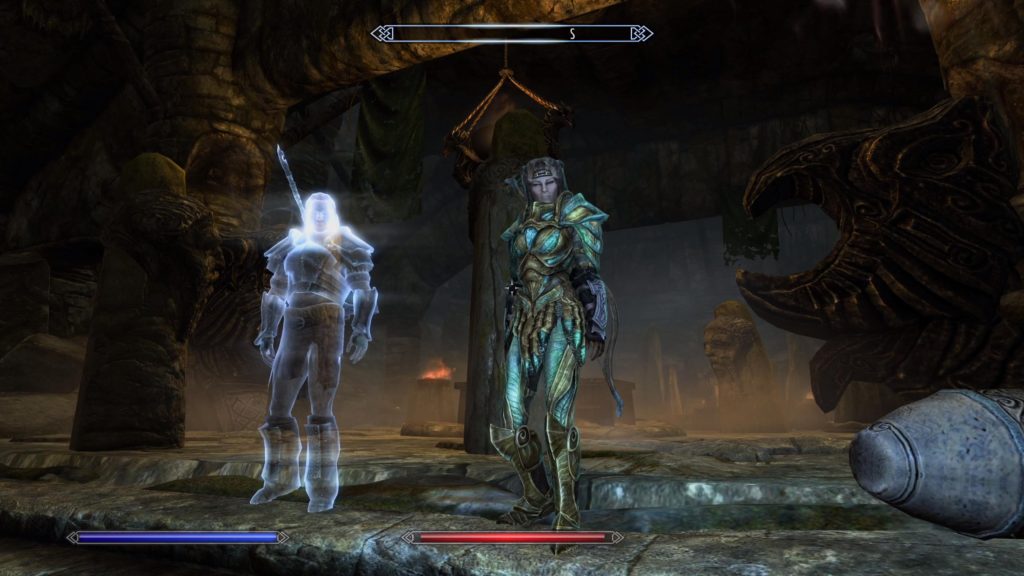
At the place where you meet the ghost “Valder”, you will enter “Valsum” through the door in the back.
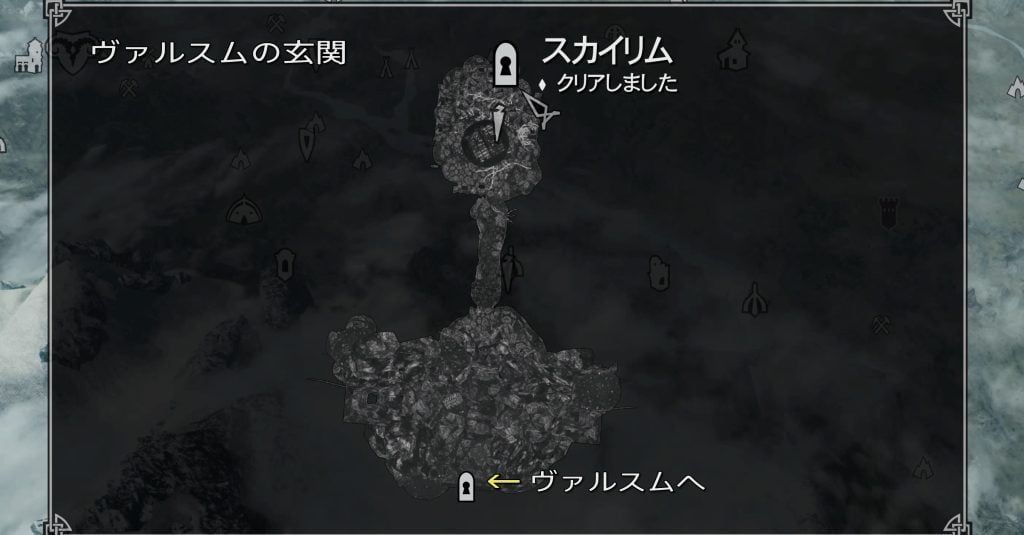
From here, open the menu from time to time and proceed while checking the position on the map. It will be the area where the first “transparent bottle” is located. Although it is simple, the map image below is marked with a “red star” mark, so please refer to it.
There are two entrances to the Valsum catacombs. However, the entrance displayed in the map image of the interruption is closed until it reaches the final point of the catacombs of Valsum.
Therefore, when you first visit, you can invade the “Valsum’s Catacombs” by going all the way to the back.
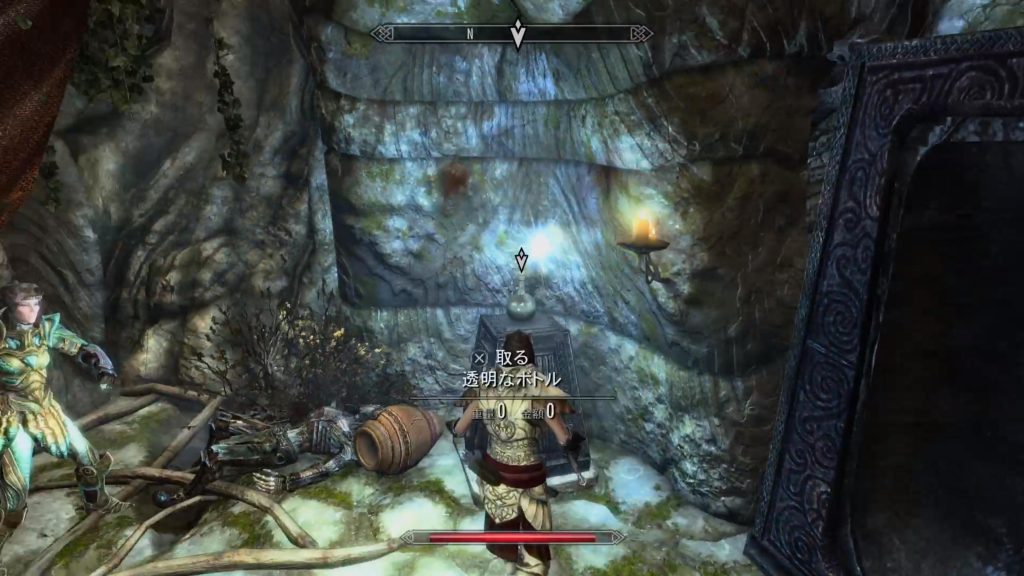


The innermost and lowest layer, “Valsum’s Catacombs”, where the remaining two “transparent bottles” are collected and brought back to Walder. The “red star” mark is marked on the map image below, so please refer to it.
If you collect the last “transparent bottle”, you can return to Walder with a shortcut from the far right of the collection point. I will introduce it later with an image.
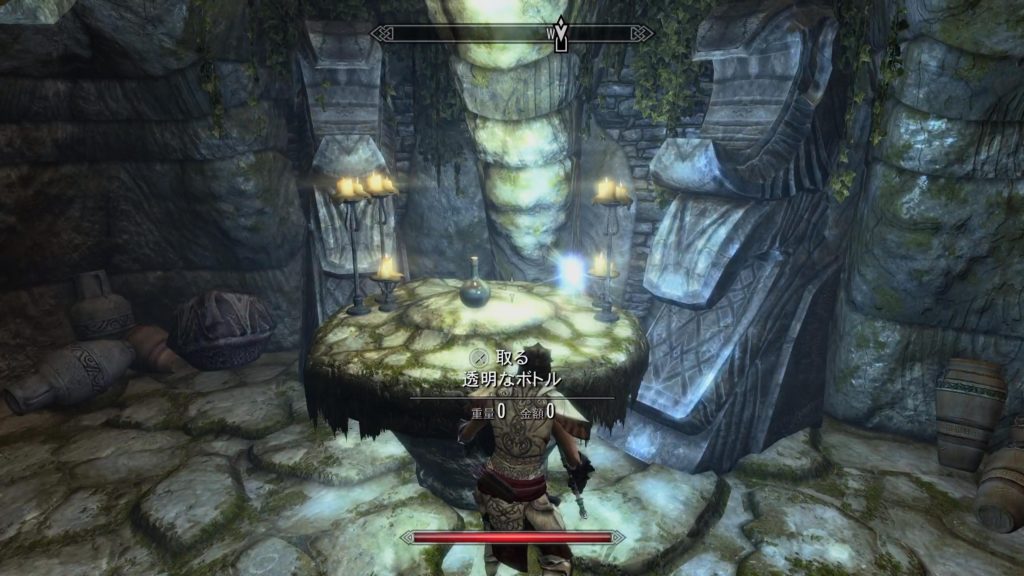


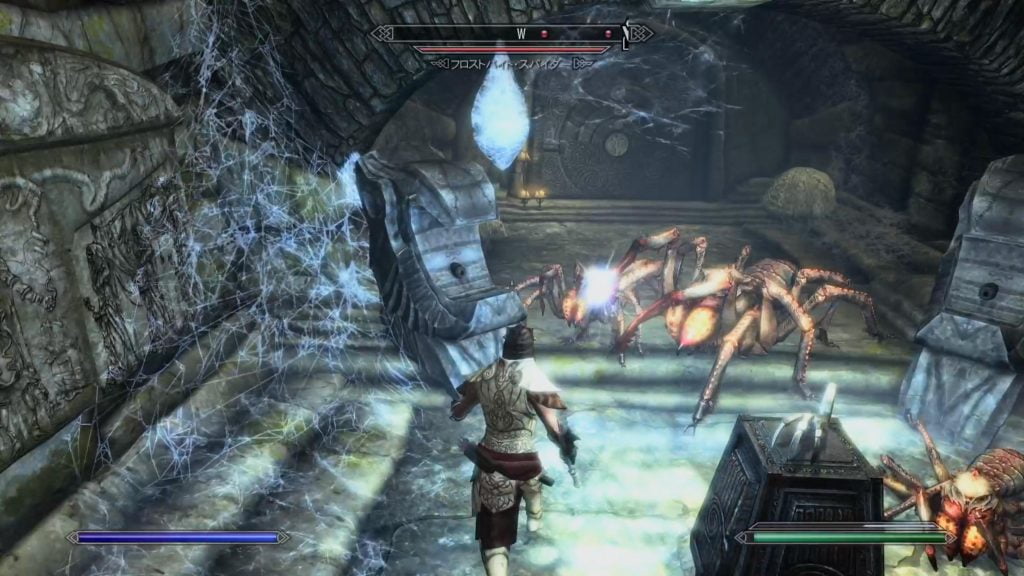
Speaking of a vast map, it’s an exaggeration, but at first glance it’s a dungeon that you’ll get lost if you don’t look at the map. There are a lot of traps, and there are many encounters with draugr.
When you enter Valsum, you will start from the time you perform the ritual. From the far right, proceed to the dungeon and start the work of collecting the three “transparent bottles”.

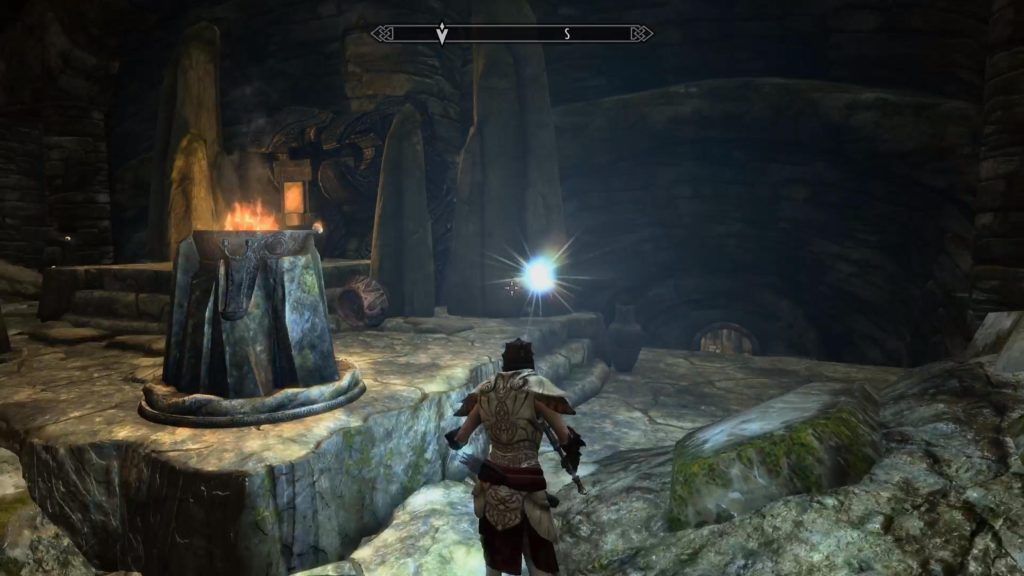
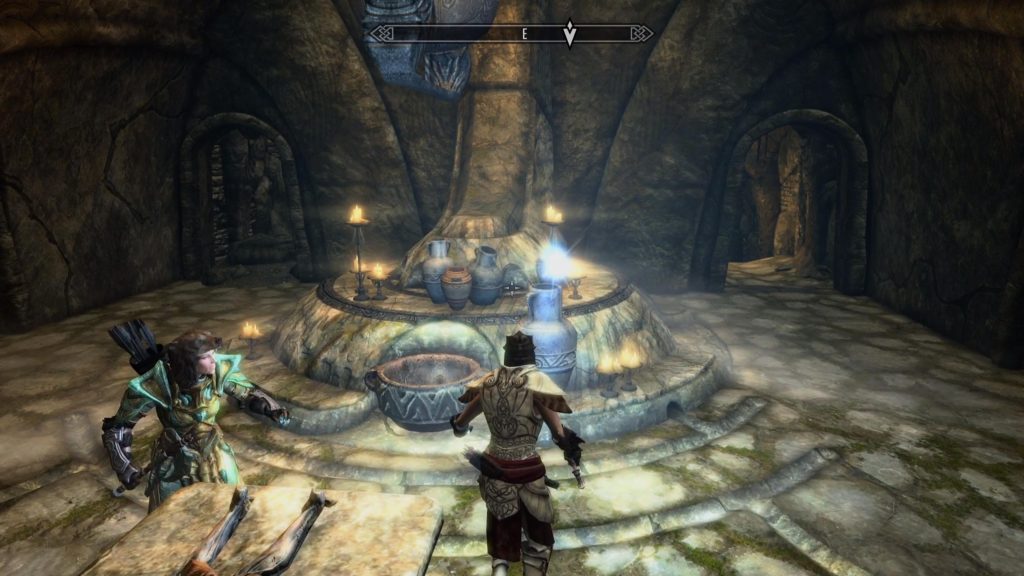
After a short walk, you will arrive at the location in the image below. Here, there are two directions of travel, but the right back of the image is the direction that should be traveled at first sight.
Although not shown in this image, another direction of travel is the door to collect and return the last “transparent bottle”.
You will soon arrive at an open area with a height difference, so follow the direction of the yellow arrow. If you proceed along the left wall, you will find the first “transparent bottle” at the end of the door that opens with a switch.
It’s not a bad idea to explore it carefully, but once you’ve collected the first “transparent bottle”, it’s okay to proceed to the Valsum catacombs.
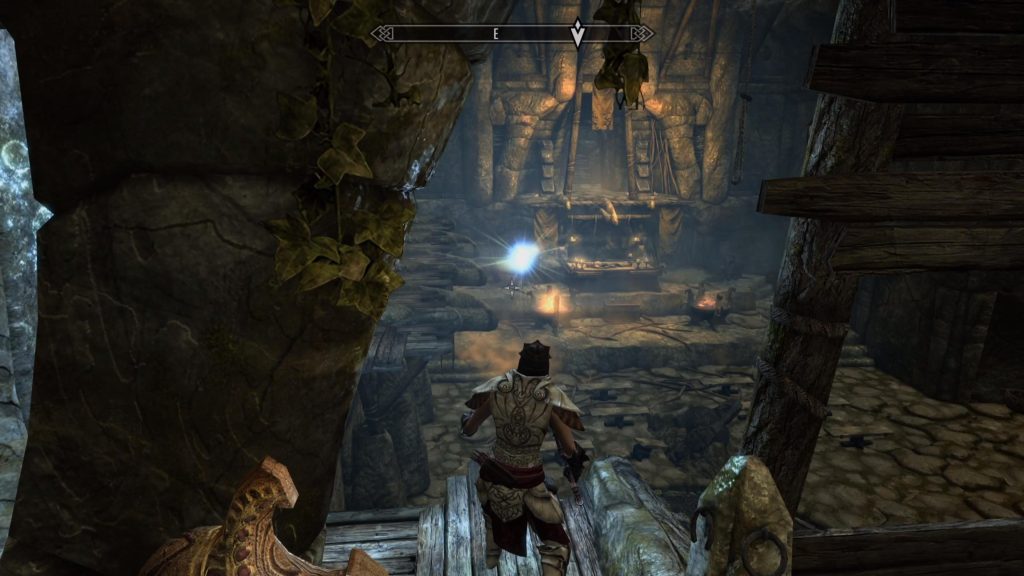

There seems to be some basic rules in the direction of travel in the dungeon.
When you go through a narrow passage and go out to an open place, it seems that the route is to go in the direction of different heights if there is a difference in height.
In other words, if you go to a high place, go to a low place, and if you go to a low place, go to a high place.
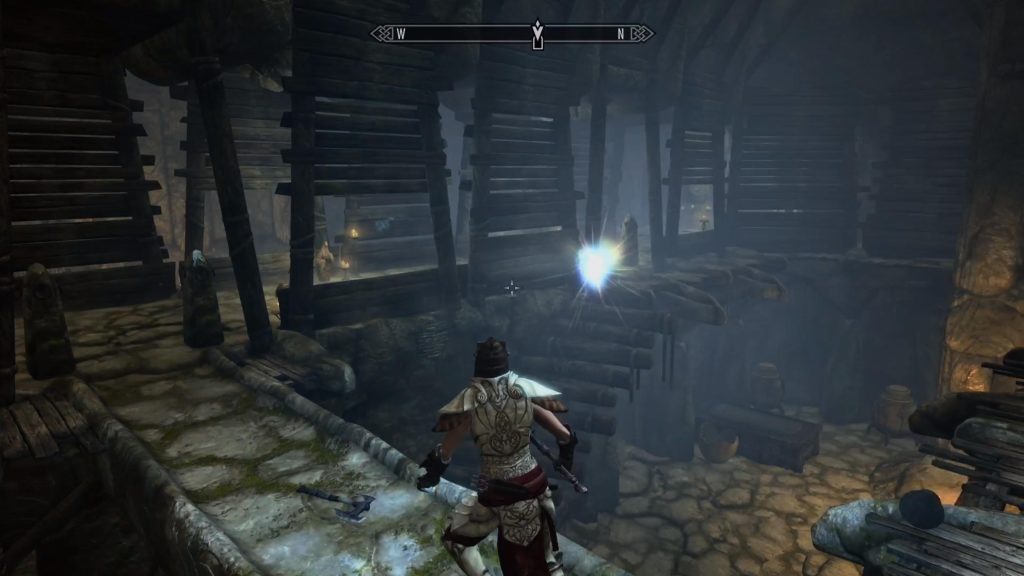
If you overlook this, you will just get lost in the same place and you will not be able to reach the target “transparent bottle”.

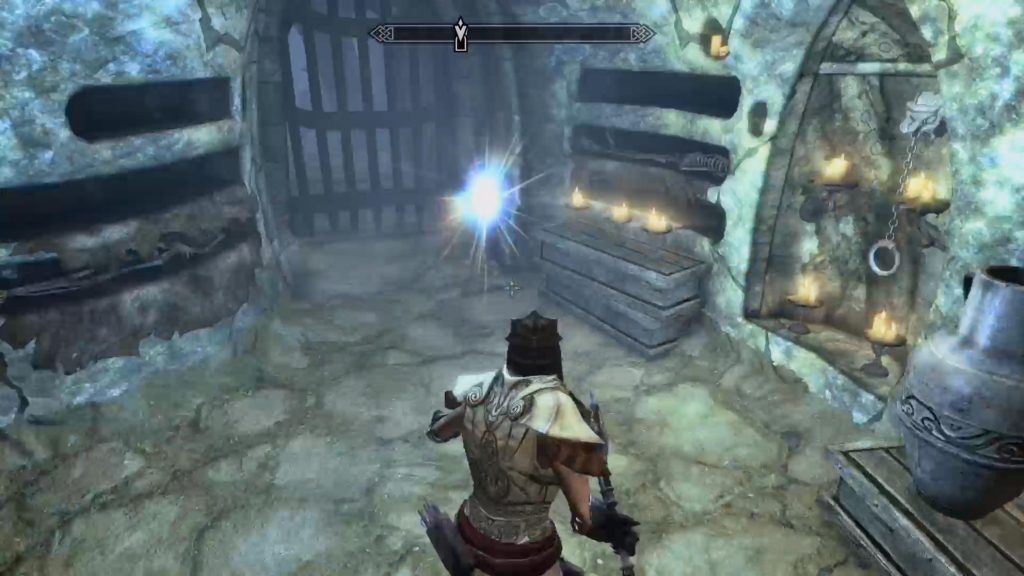
There are various traps such as arrows, spears, rockfalls, and flames, but the one that you should pay particular attention to is the place where the oil is falling. It is a terrifying trap that turns into a sea of fire as soon as you realize that something has fallen.
A trap that activates when it comes into contact with working stones or wires installed on the ground. When entering the dungeon, be careful of your feet.

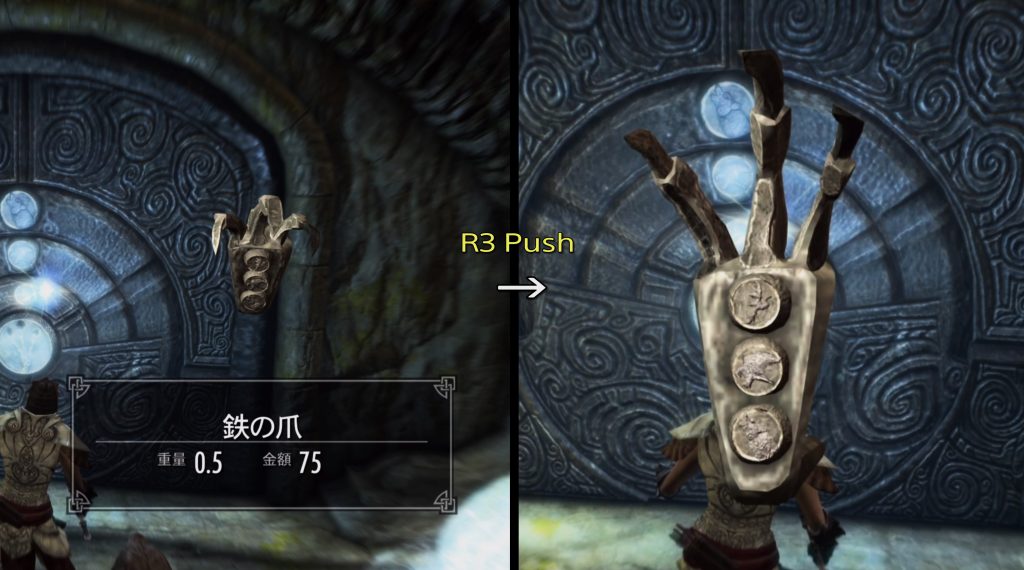
In this game, doors with rotating locks are installed in several dungeons. This is a mechanism to open using the “claw-shaped key” corresponding to the door after making the correct combination of turntables.
① Find the claw-shaped key
② Enlarge the claw-shaped key on the item screen
③ Check the pattern written on the claw-shaped key
④ Align the turntable of the door in the same way as the pattern
⑤ Open the door with the claw-shaped key

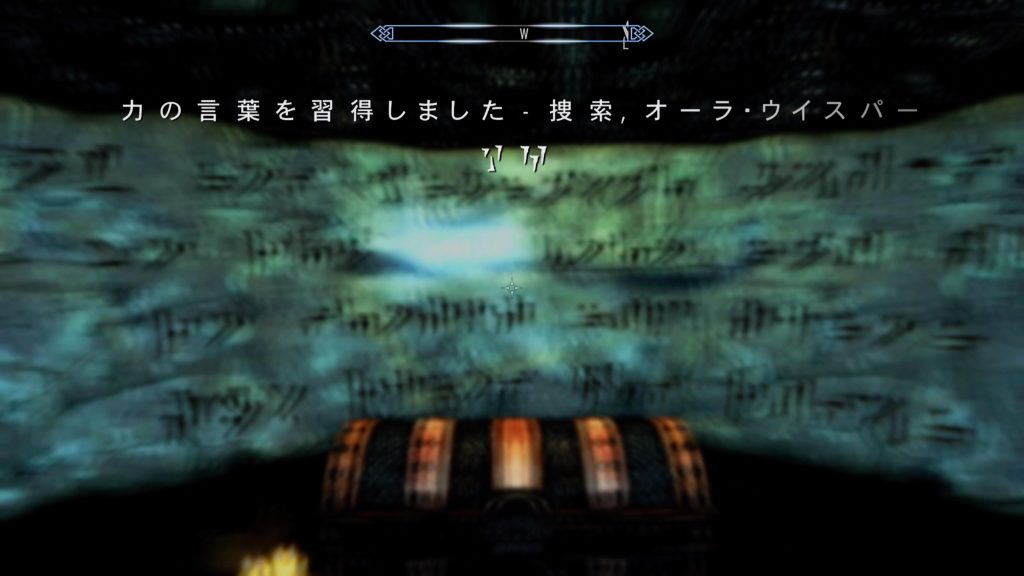
Behind the door with a rotating lock is the final “transparent bottle”. The pedestal on which the bottle is placed also has the role of a switch, and when you take the bottle, you will be able to enter the room with the shout letters.
Don’t forget to learn it before taking it back to Walder.
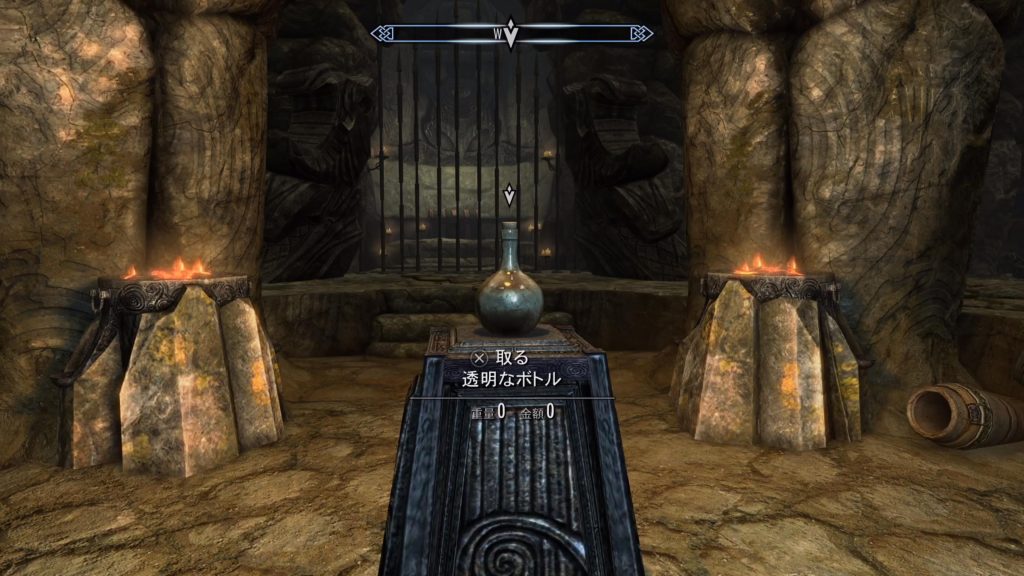
Rooms with shout characters cannot be re-entered after clearing the quest “Waiting Rogue”. Be sure to learn it before taking 3 “transparent bottles” back to Walder from the passage on the right side.
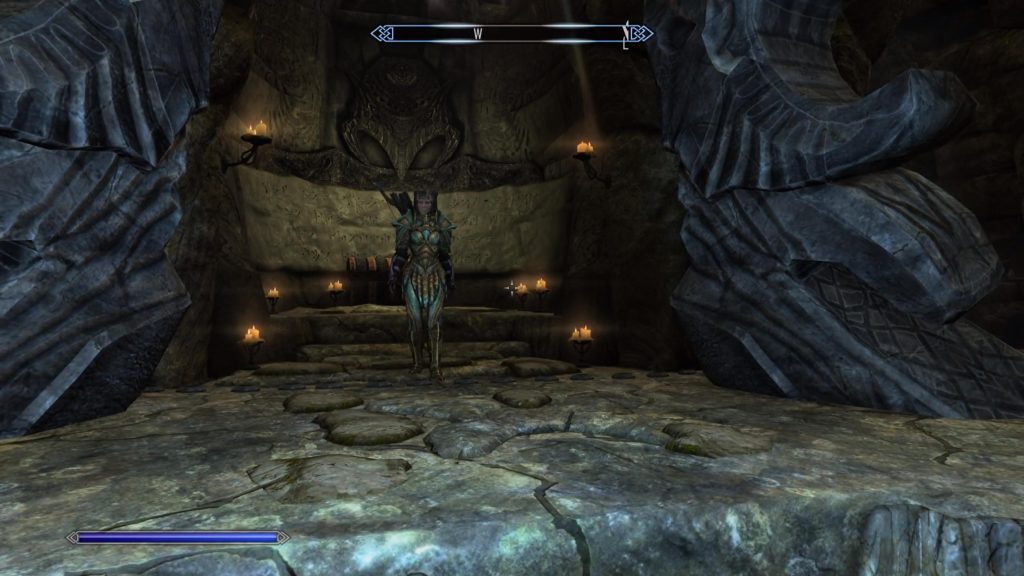
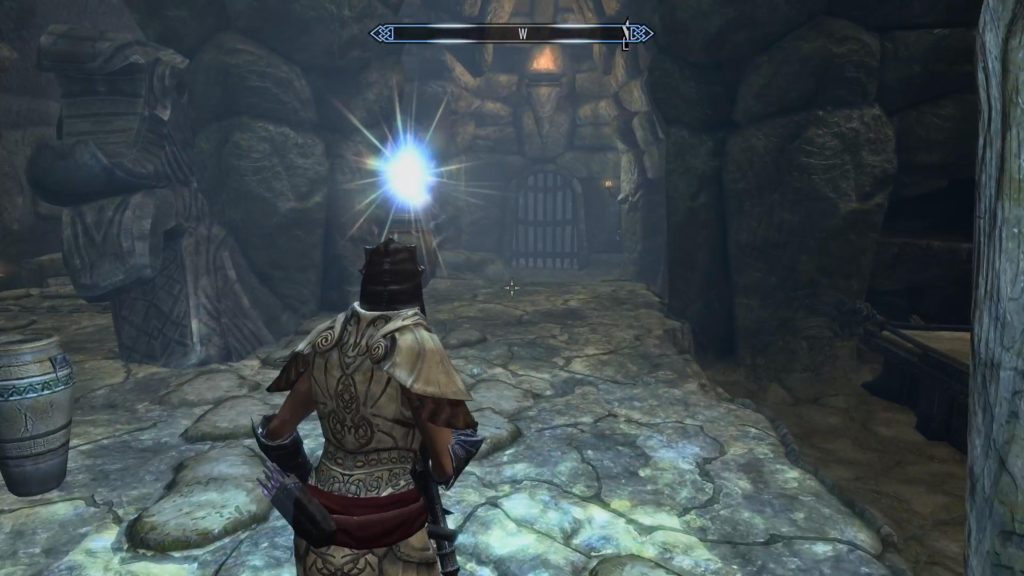
Bring back three “transparent bottles” to Walder, who is waiting during the ritual, and proceed to the ritual to spawn Hebnolark.
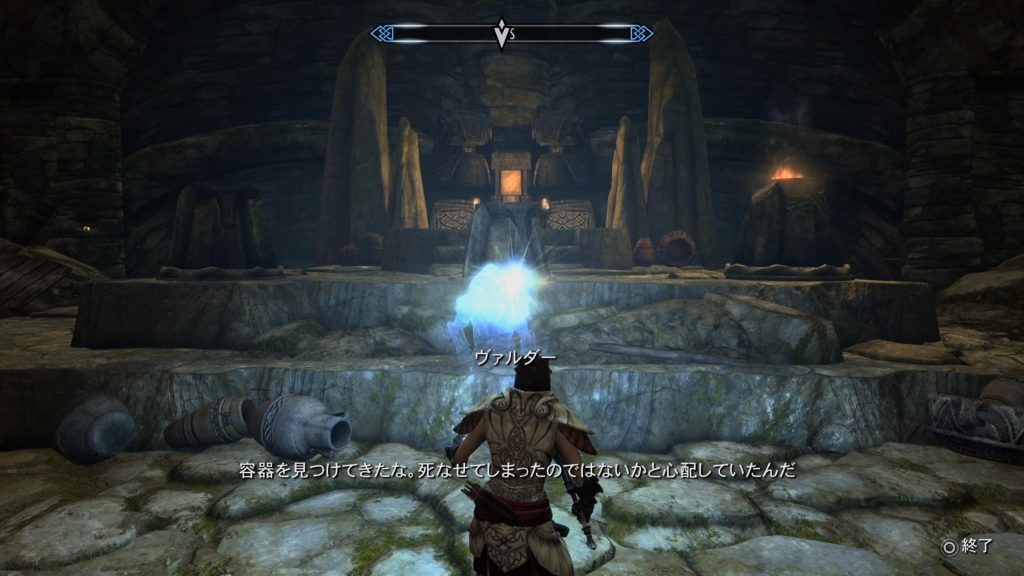
Follow Walder’s instructions, pour a bottle of blood into the wall sconces, sit on the throne and the ritual ends. From the coffin located a little away, we will observe how the last boss “Hebnolark” of this quest will be resurrected.

However, the light is in the way and the Hebnolark cannot be seen well. 😓
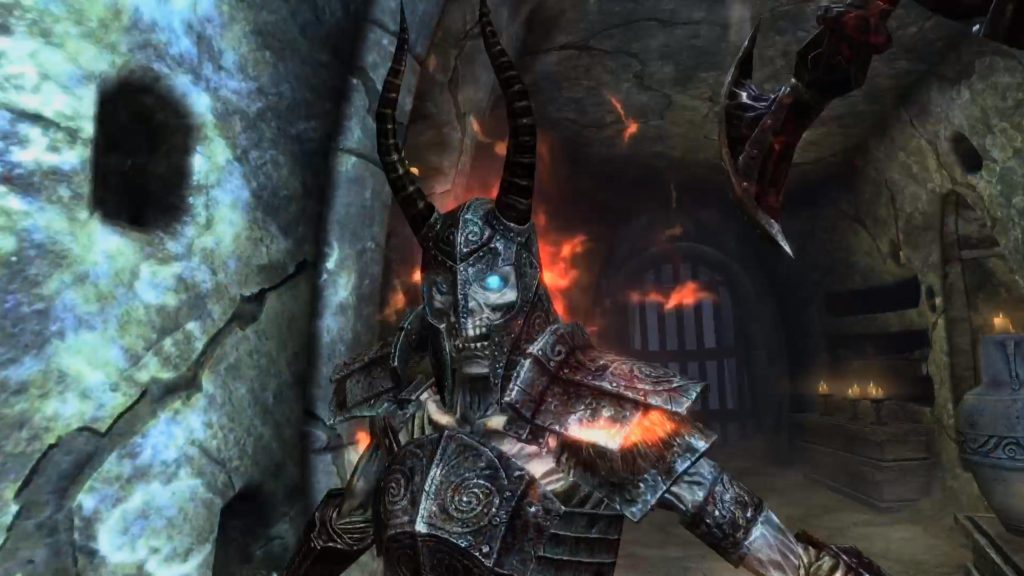
From here on, Hebnolark is a type that uses a linear electric shock magic attack to take a distance. It seems better to approach while moving diagonally instead of approaching Hebnolark straight.
It is also advisable to keep the distance from Branoke farther than the servants and summoned spirits. Hebra Nok will aim at close people, so it is a handsome tactic to attack from behind using this. 😁


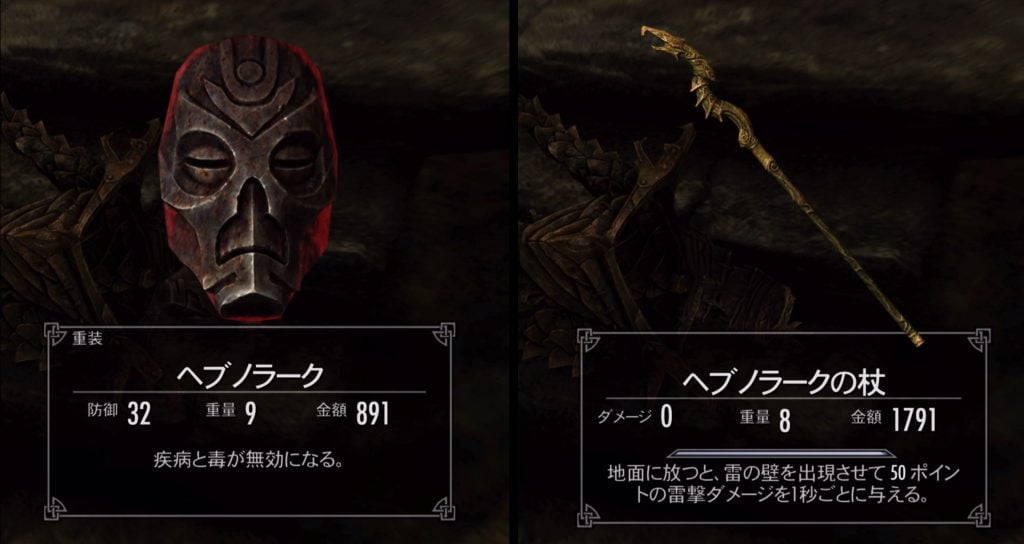
After defeating Hebra Nok, it’s a fun time to check your belongings. Hebra Nok was the original purpose, so it’s an immediate take, but it’s a dish that you would like to play with the “Hebunorak Wand”.
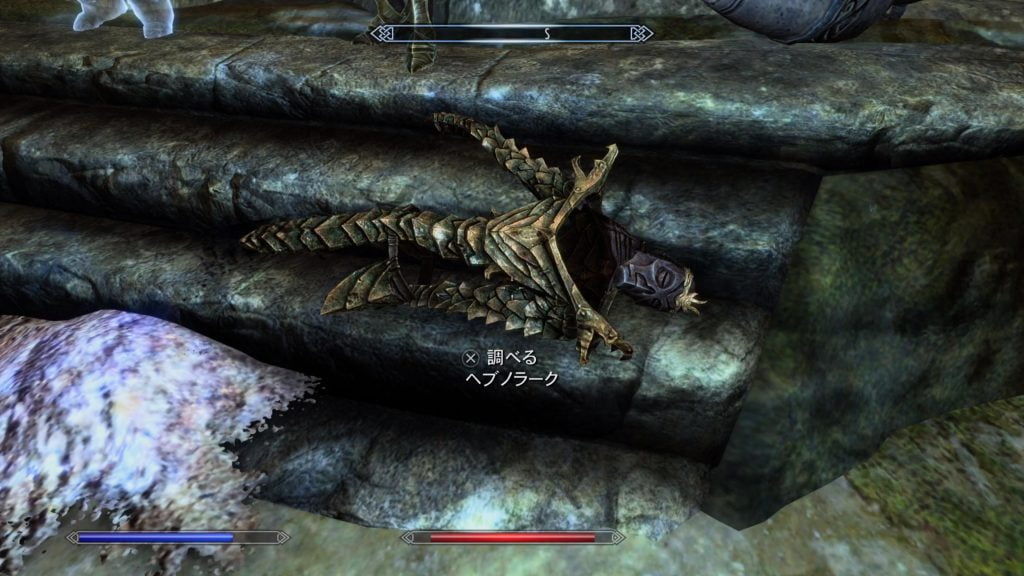
At the end, I will bite every word while regretting parting with Walder. On the way back, I thanked Walder’s skeleton, who was watching at the entrance of Valsum, and left the place.


Let’s have a fun game life for both young and old!


Born in 1967, just an ordinary person who likes games. A blog I started as a hobby after retirement. We mainly take up Playstation and PC games, and post real-life experiences and petite strategies. From 2023, we are working to focus a little more on YouTube. Please drop in with the intention of killing time.
Ghost of Tsushima New free con……
Biomutant Now that we’ve……
Assassin’s Creed Valhall……
Fade to Silence is the first g……
Assassin’s Creed Valhara……